
A roof problem rarely starts with a dramatic hole in the ceiling. More often, it starts with a small brown stain after a hard Southwest Florida storm, a few tiles that look slightly off, or a leak that shows up at 2 a.m. A roof inspection for insurance claim purposes turns that uncertainty into usable proof, and that matters a lot more than a quick look from the driveway.
A roof inspection for an insurance claim is a detailed check of your roof’s condition, damage, age clues, and repair needs, documented in a way your insurer can actually use. It is not just about spotting what looks bad. It is about showing what happened, where it happened, how serious it is, and whether the problem points to repair, replacement, or something the carrier may try to call pre-existing.
In this guide, you’ll get the full picture:
- what this inspection is really for
- when to schedule it
- what insurers look for
- what a solid report should include
- how to prepare your claim file
- how to sort out repair versus replacement
- how to avoid the contractor mistakes that make claims harder
What a Roof Inspection for an Insurance Claim Actually Does
When a storm rolls through Cape Coral or Fort Myers and leaves water spots on the ceiling by breakfast, the first question is usually simple: is this just a repair, or is this an insurance claim? The inspection is what helps answer that.
A claim-focused roof inspection documents damage in a way that connects the dots. It records visible issues, possible hidden issues, signs of storm impact, the roof’s condition before failure, and the practical scope of work needed to fix the problem. That can include photos, measurements, notes on materials, and an opinion about whether the damage fits a covered event.
A casual glance from the yard is not enough. A roof can look mostly normal from below and still have lifted flashing, bruised shingles, underlayment failure, or water intrusion around penetrations.
Why this inspection matters more than a standard roof check
A routine maintenance inspection is mostly about prevention. It looks for aging sealant, loose fasteners, drainage trouble, cracked tiles, and the normal wear that comes with sun, heat, and time.
An insurance-focused inspection is different. It is built around evidence. The inspection has to show likely cause of loss, the affected areas, the extent of damage, and whether the roof can be reasonably repaired or needs broader work. Documentation quality matters just as much as what gets found, because nearly 40% of roofing claims get delayed or denied over weak evidence or measurement mistakes.
How insurers use the inspection to approve, limit, or deny a claim
Insurance companies use the inspection to decide three things: is the damage covered, how much of the roof is affected, and what the payout should be.
That sounds straightforward, but here’s the catch. Carriers are not only looking at the storm itself. Your roof’s age, material, maintenance history, prior repairs, and overall condition matter too. A missing shingle after a wind event may support a claim. A brittle, patchy roof with long-term deterioration may give the insurer room to argue wear and tear instead.
In 2026, carriers are checking roofs more closely because storms are more frequent and replacement costs are higher. Inspections are being compared against aerial imagery, digital measurements, and prior records. If your roof is older, that scrutiny gets even sharper.
When You Should Get a Roof Inspection for an Insurance Claim
Timing matters more than most homeowners expect. If damage is fresh, visible, and tied closely to a recent event, your claim is easier to support.
Wait too long, and the story gets muddy. Water keeps moving. Wind-damaged sections shift more. Temporary repairs cover the original problem. Then the insurer starts asking whether the issue came from the storm or from neglect.
After storms, leaks, fallen branches, or visible roof changes
The obvious triggers are major wind, hail, tropical storms, and debris impact. But the less dramatic signs count too: water stains, drips in the attic, missing shingles, dented metal, lifted flashing, sagging spots, or granules collecting in gutters.
In Southwest Florida, this is especially common after a fast-moving summer storm that looks minor at first. The sky clears, palm fronds are scattered across the yard, and by evening you notice a damp spot over the hallway. That is enough reason to act.
If you are dealing with storm-related concerns, it helps to understand what gets checked after severe weather, because some of the most valuable claim evidence is easy to miss from the ground.
Before the adjuster visit, if possible
Getting an independent inspection before the adjuster arrives can make the whole process less confusing. You get photos early, measurements early, and a clearer sense of whether the problem is isolated or widespread.
That does not mean picking a fight with the insurer. It means not walking into the claim process blind. A licensed contractor can flag missing flashing, damaged valleys, or interior signs of moisture that would be easy to overlook during a rushed visit. A strong file with date-stamped photos and videos also helps preserve evidence while the claim is still fresh.
When not to wait and “see if it gets worse”
This is one of the biggest mistakes homeowners make.
Roof damage does get worse. But from an insurance standpoint, waiting creates problems. The visible signs of the original event may fade. New rain can spread the damage into ceilings, insulation, and framing. Then the carrier may argue that part of the loss came from failure to protect the property after discovery.
Most policies also expect prompt notice. Delays can weaken a claim even when the original event was covered.
What Insurance Companies Look for During a Roof Inspection
Insurers are not judging your roof like a neighbor would. They are looking for coverage triggers, exclusions, and cost drivers.
Storm damage versus wear and tear
This is where many claims get stuck. Storm damage has patterns. Wind can crease shingles, lift tabs, displace flashing, or break tiles. Hail can leave impact marks, bruising, dents, and chipped surfaces. A branch strike can create a clear point of damage.
Wear and tear looks different. Think brittleness, curling, old granule loss, faded patch jobs, and slow deterioration from years of heat and UV exposure. Southwest Florida roofs take a beating from sun and storms, so both conditions often exist at the same time. The inspection has to separate them clearly.
Roof age, material, and expected lifespan
Age matters because insurers use it as context for both coverage and value. Roof age and condition are common underwriting factors, and older roofs get more scrutiny during claims.
As a simple rule, asphalt shingles often last 20 to 30 years. Metal and tile can last much longer, sometimes up to 50 years with proper care. But lifespan on paper is not the same as lifespan in coastal Florida. Salt air, heat, wind, and repeated storm exposure can age a roof faster than the brochure suggests.
Signs of maintenance issues or prior repairs
Insurers also look for clogged drainage, failed flashing, soft decking, repeated patching, loose vents, and poor workmanship. If a roof has multiple older repairs scattered across different slopes, that can raise questions about long-term condition.
Here’s the thing: a carrier does not have to ignore neglect just because a storm happened. If unrepaired issues were already present, the inspection may become a debate over what was new and what was not.
Hidden damage that does not show up from the yard
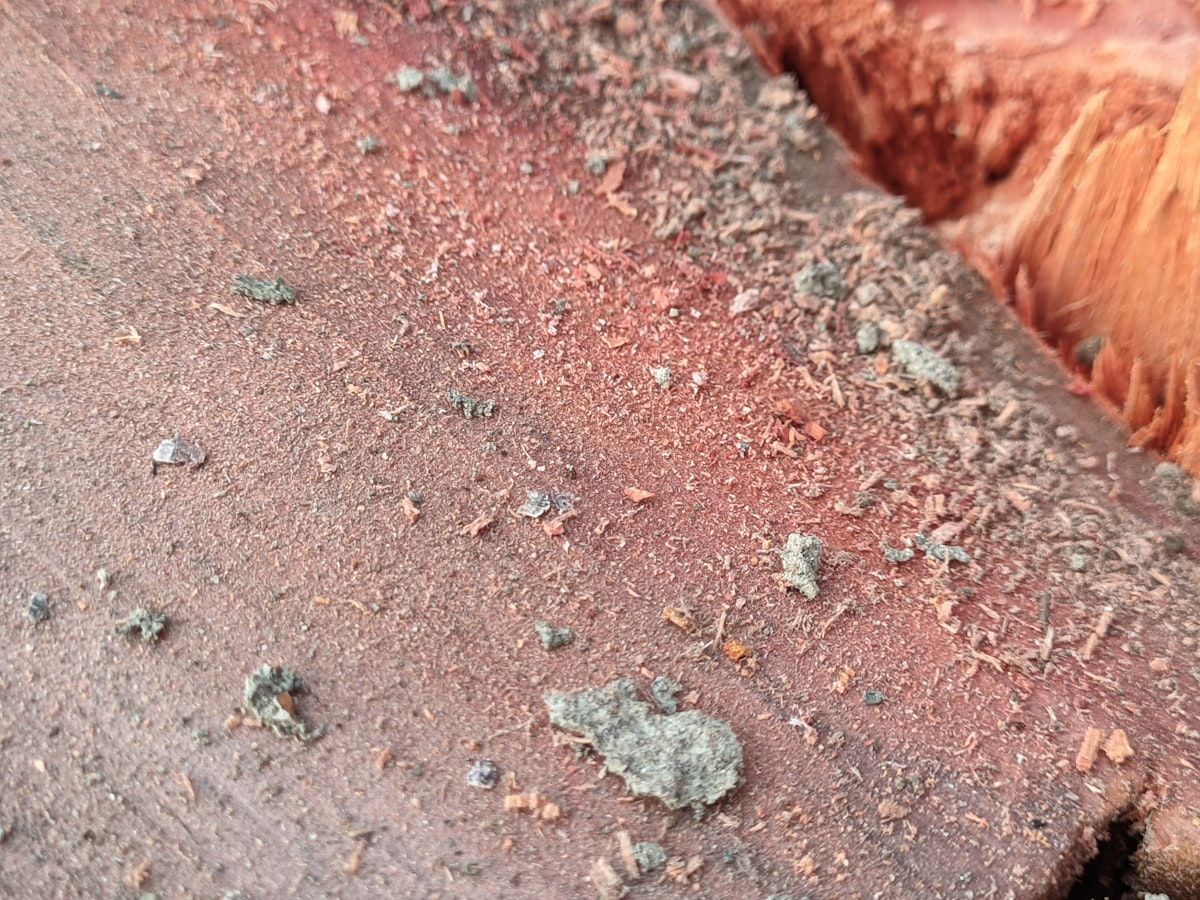
Some of the most expensive roof damage is not obvious from below. Underlayment damage, moisture intrusion, attic leaks, rotted decking, and subtle uplift around fasteners can all exist without dramatic exterior signs.
That is why a real inspection often includes close-up photos, attic review, and sometimes drone documentation for steep or hard-to-see areas. A thorough local inspection report should go beyond curb appeal and get into the parts that actually affect claim value.
What a Professional Roof Inspection Should Include
A rushed sales visit is not the same thing as a professional inspection. If somebody glances up for five minutes and immediately says you need a full roof, slow down.
Exterior inspection points
A proper exterior inspection checks the roofing material itself, along with ridges, hips, valleys, flashing, vents, pipe boots, seals, penetrations, drainage paths, gutters, edges, and impact zones. Measurements matter too.
That last part gets overlooked all the time. Missing ridges, valleys, starter rows, or waste factors can produce low estimates and long supplement battles later. Objective aerial reports can help because claim cycles can shorten when measurement disputes are reduced.
Interior and attic checks
Interior evidence helps connect roof damage to actual water intrusion. Ceiling stains, damp insulation, mold, soft spots, and daylight through decking all tell part of the story.
An attic check is especially useful when the roof surface looks borderline. A small breach on top can create a much clearer pattern underneath. That makes cause and urgency easier to explain.
Photos, videos, and date-stamped documentation
Documentation is everything. Wide shots show location. Close-ups show severity. Drone images help with steep sections or large footprints. Short video clips can capture active dripping or lifted materials moving in the wind.
More is usually better here, as long as it is organized. Good documentation gives the insurer less room to say the evidence is incomplete or too vague.
A written report with repair or replacement findings
The written report should identify probable cause of damage, affected roof sections, measurements, material type, age estimate if known, urgency, and whether spot repair is realistic. It should also explain when replacement makes more sense than patching.
If you are comparing inspection options, it helps to know what affects the price of a proper evaluation, because the cheapest option is often just the shortest one.
How to Prepare for Your Roof Inspection and Claim
A little prep saves a lot of back-and-forth later. Think of it like packing for a trip. If your documents are scattered everywhere, the process gets annoying fast.
Gather the paperwork that helps your claim
Pull together your policy, prior repair receipts, maintenance records, permits, warranty information, old inspection reports, and any before-photos of the roof or home exterior. Keep it all in one digital folder so you are not hunting through texts and kitchen drawers later.
That paper trail matters because insurers often want history, not just current damage.
Document the damage before temporary repairs
Take photos first. Then do what you need to do to stop further damage, such as tarping or emergency patching. Insurers generally expect you to protect the property after a loss, and temporary repairs can help prevent extra water intrusion.
Save every receipt. Emergency mitigation costs can matter during settlement.
Review your policy before you file
Look for your deductible, any separate wind or hail deductible, filing deadlines, roof exclusions, endorsements, and whether your roof is covered at actual cash value or replacement cost value.
If you want a broader look at the process around paperwork and timing, this guide to making sense of the claim inspection side fills in the gaps.
Understanding Repair vs. Replacement in an Insurance Claim
This is the part most homeowners really care about. Can your roof be fixed, or are you headed toward replacement?
When a repair may be enough
A repair may be enough when the damage is isolated, the leak is limited, matching materials are available, and the surrounding roof system is still in solid shape. If one section took a hit but the rest of the roof remains sound, targeted repairs can be reasonable.
The trick is not confusing a cheap repair with a good repair. If damage is spread across multiple areas, patching one visible problem may just buy a little time.
When replacement becomes the stronger case
Replacement becomes easier to support when damage is widespread, multiple slopes are affected, materials are brittle or discontinued, code upgrades are triggered, or hidden water damage has spread below the surface.
This comes up a lot on older Southwest Florida roofs. Years of heat, humidity, and storm exposure can leave the system too fragile for a reliable spot fix. If repairs would be piecemeal and short-lived, replacement is often the more honest answer. For a deeper breakdown, this article on choosing between patching and starting over helps sort out the decision.
ACV vs. RCV and why payout can look lower than expected
Actual cash value, or ACV, means the insurer pays the current depreciated value of the roof. Replacement cost value, or RCV, means the policy is designed to pay what it costs to replace the roof, subject to your deductible and policy terms.
Older roofs can produce a nasty surprise under ACV coverage. ACV policies can reduce payouts by 30% to 60% on aging roofs. So even when damage is covered, the check may be much smaller than expected.
Working With the Adjuster Without Getting Lost in the Process
The adjuster visit is where the paper claim meets the actual roof.
What happens during the adjuster inspection
The adjuster is usually checking cause, scope, condition, and estimated cost. Photos get taken, measurements get reviewed, and roof age and prior condition may come up. Digital tools and aerial imagery are common now, but those tools still need to match what is really on your roof.
If an aerial report misses a valley or a damaged slope, the estimate can come in low.
Why having your roofing contractor present can help
Having your contractor there can be useful for one simple reason: fewer missed details. A contractor can point out damage locations, explain why a repair may fail, and flag code-related items that affect scope.
This does not need to be combative. It is just practical. The cleaner the conversation, the fewer surprises later.
Supplements, measurement disputes, and low initial estimates
A supplement is added documentation used to correct a claim scope that missed something. Common examples include omitted flashing, starter rows, valleys, ridge materials, waste factor, or code-required items.
This is not rare. About 12% of roof claims needed serious negotiation for a fair result. Good photos, clean measurements, and a written scope make those conversations a lot easier.
How to Choose a Trustworthy Local Roofing Contractor for Claim Help
After a storm, roofing ads show up fast. Some are helpful. Some are trouble in a polo shirt.
Green flags to look for
Look for proper licensing, insurance, a real local presence, photo-heavy inspection reports, clear explanations, and experience with storm damage documentation. Southwest Florida roof types matter here too. Tile, metal, low-slope sections, and coastal weather patterns all create different failure points.
A contractor should be able to explain findings in plain English, not hide behind jargon.
Red flags that should make you pause
Be careful with high-pressure door knocking, promises of a “free roof,” vague contracts, no local address, or refusal to separate inspection findings from sales talk. Be especially skeptical of anybody claiming your insurer must pay for a full replacement before the inspection is even done.
If you are weighing offers, this guide on spotting a contractor worth trusting is worth reading before signing anything.
Questions worth asking before you hire
Ask direct questions. What damage did you find? Can you show photos? Do you recommend repair or replacement, and why? Will you document code-related items? Can you meet the adjuster? What happens if the insurer under-scopes the job?
Good contractors answer clearly. Bad ones get slippery.
Common Reasons Roof Claims Get Delayed or Denied
Most denied or delayed claims do not fall apart over one dramatic mistake. Usually it is a stack of smaller problems.
Not enough evidence
Weak photos, missing dates, vague notes, and poor measurements can drag out a claim or sink it. Better documentation can also support supplements and shorten processing.
Damage blamed on age, neglect, or old repairs
If your roof shows deferred maintenance, prior leaks, or scattered patch jobs, the insurer may lean hard on pre-existing condition arguments. A strong inspection report helps separate old wear from new storm damage.
Filing too late or misunderstanding coverage
High deductibles, exclusions, and ACV policies surprise homeowners all the time. So do filing deadlines. Not every expensive roof problem is covered just because it is serious.
What to Do If the Insurance Decision Does Not Match the Damage
A denial or low approval is frustrating, but frantic moves usually make things messier.
Ask for the reason in writing
Get the denial or partial approval tied to a specific policy reason. Vague answers are hard to respond to. Written reasons give you something concrete to review and challenge.
Get a second inspection or stronger documentation
A second opinion makes sense when the first scope missed slopes, flashing, attic evidence, code items, or full measurements. Updated photos, weather records, and cleaner reports can change the conversation.
Try one organized next move instead of ten frantic ones
Start with one simple action: schedule an independent inspection and build one claim folder with photos, receipts, policy documents, and every email tied to the loss. That one habit makes the rest of the process feel a lot less chaotic.
Frequently Asked Questions
How long does a roof inspection for an insurance claim usually take?
Most inspections take between 45 minutes and a couple of hours, depending on roof size, pitch, material, and whether attic access is included. The written report usually takes longer than the site visit.
Should you get your own roof inspection before filing a claim?
Yes, if possible. An independent inspection helps you document damage early, understand likely repair scope, and avoid relying only on the insurer’s first look.
Can you make temporary repairs before the insurance inspection?
Yes, but document everything first. Take photos and videos before tarping or patching, then save receipts for emergency work.
Will insurance cover a full roof replacement?
Sometimes, but not automatically. Coverage depends on cause of damage, how much of the roof is affected, policy terms, age, depreciation, and whether repair is considered reasonable.
What if no damage is visible from the ground?
That does not mean the roof is fine. Hidden issues such as lifted flashing, underlayment damage, attic leaks, and soft decking often need a closer inspection to show up.
Does an older roof automatically mean your claim will be denied?
No. An older roof gets more scrutiny, but age alone does not erase coverage. The real issue is whether the inspection can show covered damage clearly and separate it from normal aging.