
A roof leak rarely stays small for long, especially in Southwest Florida where a hard afternoon storm can turn one ceiling spot into soaked insulation and soft drywall by dinner. If you’re wondering how fast to schedule a roof leak inspection, the short answer is simple: do it right away, and use the steps below to make that call count.
What this guide helps you decide
The real question is not whether you should get a roof leak inspection. It’s how quickly you need one after you notice water. In almost every case, the safest answer is the same day or as close to it as possible.
Here’s the thing: the drip you can see is often only the symptom. Water may already be moving through decking, underlayment, flashing, insulation, or wall cavities before it shows up as a stain in your hallway. That is why waiting to “see if it happens again” is a bad bet, especially during Florida’s rainy stretches.
What you’ll need before you schedule anything
Getting a few details together before you call makes the inspection more useful and cuts down on back-and-forth. Think of it like showing up to urgent care with your symptoms written down instead of trying to remember everything on the spot.
- Grab your phone, a notepad, and any insurance paperwork you already have.
- Pull together the details below before you book the visit.
- Keep everything in one folder so you can share it quickly if needed.
The date and time you first noticed the leak
Write down when you first saw the stain, drip, or damp spot. If it happened during a 3 a.m. thunderstorm in Fort Myers, note that. If you noticed a musty smell two days later, note that too.
That timing helps connect the leak to a specific storm event, roof failure, or recent repair. It can also matter if the inspection later supports a claim.
Photos and video of the interior damage
Take clear photos of everything you can safely reach. Include ceiling stains, bubbling paint, wet drywall, drips in the attic, water near vents, and any puddling on floors.
Video helps if water is actively dripping or running down a wall. Try to capture the area from a few angles so the damage is easier to understand later.
Notes about the last storm or roofing work
Jot down anything that may point to the cause. Heavy wind, pounding rain, flying debris, a repair from six months ago, or a roof that’s already past 15 years old all matter.
Older homes deserve extra attention. Nearly 60% of owner-occupied homes were built before 1980, which helps explain why aging roof systems fail in familiar spots like vents, valleys, and flashing.
Your insurance policy and past claim records
Have your policy number, carrier name, and any prior roof claim records handy. You do not need to become an insurance expert before making the call. You just want the basics ready if the inspection shows storm damage rather than simple wear.
If that part feels fuzzy, it helps to understand what matters during a claim-related inspection before you move deeper into repair decisions.
Step 1: Act the same day you notice the leak
This is the move that saves the most money and stress. Do not wait a week, and do not assume a stopped drip means the problem is gone.
- Protect the inside of your home.
- Document what you can safely see.
- Schedule the inspection that same day.
Protect the inside of your home first
Move furniture, rugs, electronics, and anything valuable out of the wet area. Set a bucket or pan under active drips. If water is near a light fixture, outlet, or ceiling fan, shut off power to that area if you can do it safely.
Your goal is simple: limit interior damage while you wait for professional eyes on the roof.
Don’t climb on the roof yourself
Skip the ladder. A wet roof is dangerous, and even a dry one can be more fragile than it looks after heat, age, or storm damage.
The catch is that a quick walk up there can make things worse. You can crack tile, loosen shingles, miss the actual entry point, or muddy the documentation if insurance gets involved. A professional inspection is safer and usually more accurate because hidden moisture often requires tools, not guesswork. Certified inspectors use specialized detection methods that a driveway glance cannot match.
Make the call even if the leak seems small
A tiny brown ring on the ceiling can still mean wet decking, damp insulation, or failing flashing overhead. Small visible leaks fool people all the time.
That is one reason leaks stay such a common headache. Nearly 6 million homes report roof leaks nationwide, and a lot of those problems start with a symptom that looked minor at first.
Step 2: Know the ideal inspection timeline after a leak
If you want a simple timing rule, use this one: active leak, same day. Recent storm damage, same day or next day. Stain or odor without active dripping, within 24 to 48 hours.
- Treat active water as urgent.
- Treat stains and musty smells as time-sensitive.
- Move even faster if the roof is older or a storm just passed through.
Schedule immediately for active dripping or storm damage
If water is entering your home right now, or if the leak started right after a storm, book the inspection immediately. The same goes for missing shingles, displaced tiles, sagging areas, or debris impact.
In Southwest Florida, this matters even more because roof problems often compound fast between heat, humidity, and repeated rain.
Schedule within 24 to 48 hours for stains, odors, or intermittent leaks
A leak that “stopped” still deserves quick attention. Moisture can stay trapped behind paint, inside insulation, or around framing long after the visible drip ends.
A prompt schedule keeps a manageable problem from turning into mold, rot, or a much larger repair bill.
Move faster if your roof is older
An older roof has less margin for error. Materials dry out, sealants shrink, and vulnerable areas around vents or flashing start acting like the weak seams on an old beach umbrella.
If your roof is pushing 15 years or more, do not give it extra time just because the leak looks modest. Older Florida roofs usually need a quicker decision and closer follow-up. For a broader maintenance rhythm, it helps to know how often Florida roofs should really be checked.
Expect longer wait times after major storms
After a regional storm, contractor schedules fill up fast. Early booking matters because being first in line is often the difference between a minor repair this week and temporary damage control for the next two.
If you suspect wind or storm impact, ask for a visit centered on post-storm roof damage checks rather than a basic estimate.
Step 3: Check for signs that make the situation more urgent
Not every leak is a full-blown emergency, but some warning signs should push your inspection to the front of the line.
- Walk through the affected area inside.
- Look from the ground at the roof exterior.
- Escalate quickly if multiple warning signs show up together.
Interior warning signs you should not ignore
Watch for expanding ceiling spots, soft drywall, peeling paint, musty odors, attic dampness, visible mold, or water tracking down a wall. If the stain is growing, the problem is active, even if you do not see a steady drip.
A thorough inspection should start with those clues because they help trace the moisture path indoors before anyone starts guessing outside.
Exterior signs that often point to roof failure
From the ground, look for missing shingles, cracked or slipped tiles, bent flashing, debris-packed valleys, heavy granules in gutters, or visible sagging. These signs often point to a roof system problem, not just one random opening.
Missing materials and sagging matter on their own too. 3.5 million households report missing roofing materials, and that kind of deterioration often travels with leak issues.
Signs the leak may be spreading beyond one spot
Water moves. It can enter near a vent, travel along framing, and finally drip several feet away in a hallway or bedroom.
So if the stain is in one room, do not assume the roof opening is directly above it. That is exactly why a leak-focused inspection matters more than a quick visual estimate.
Step 4: Choose the right type of roof inspection
The phrase “free estimate” sounds helpful, but it is not always the same thing as a real leak inspection. You want a visit designed to find the source, document the condition, and explain the repair path.
- Ask for a leak-focused inspection.
- Confirm what tools and areas are included.
- Ask what documentation you will receive afterward.
Ask for a leak-focused inspection, not just a general estimate
A general estimate often leads straight to price talk. A leak inspection should begin with symptom tracking, interior evidence, attic review if accessible, and roof-surface assessment aimed at the source of water.
That is the better way to get useful answers. A strong process should start with the symptom and document the roof, not guess from the driveway.
Find out whether attic checks and moisture testing are included
Ask whether the inspection includes attic access, moisture readings, and checks around penetrations like vents, skylights, valleys, and wall intersections. Hidden moisture is where a lot of the real trouble lives.
Moisture meters and infrared tools can help confirm damp areas your eyes cannot see, which is especially useful when the visible stain is small.
Ask about photos, documentation, and report turnaround
You should expect photos, written findings, and a clear explanation of what comes next. For most homes, a written report often arrives within 24 to 72 hours, though deeper scans can take longer.
If you want a sense of what pricing and scope usually look like, this breakdown of what affects inspection pricing helps set expectations before you book.
Confirm experience with your roof type
Tile, shingle, metal, and low-slope roofs leak differently. A contractor who mainly works on shingles may miss the small clues that matter on tile, especially in Florida where underlayment and flashing often tell the real story.
For local homeowners, a good benchmark is a company that clearly explains its roof inspection process and documents what it finds.
Step 5: Get your home ready for the inspection
A little prep makes the appointment smoother and more productive. Less time moving boxes means more time finding the actual problem.
- Open up access to affected areas.
- Mark where water showed up.
- Share the timeline clearly when the inspector arrives.
Clear access to the attic, garage, and affected rooms
Move stored boxes away from attic hatches, garage walls, and stained ceiling areas. Make sure the inspector can safely reach access panels and see the areas where you noticed moisture.
This sounds simple, but it saves time right away.
Mark where you saw water
Use painter’s tape or a quick note to mark drip spots, stains, or damp wall areas. If the leak happened during a storm and dried before the appointment, those markers help connect the indoor symptom to the roof trouble area.
Photos on your phone help here too, especially if the active drip has already stopped.
Share your timeline and storm history
Be specific. Mention when the leak started, whether it only happens during heavy wind-driven rain, and if there were any past repairs in the same area.
A good inspection is part detective work, part roof science. Clear details help narrow the search.
Step 6: Know what should happen during a professional roof leak inspection
If the visit feels rushed, vague, or focused only on selling a full replacement, pay attention. A careful inspection has a clear flow.
- The inspector should begin inside.
- The roof exterior should be checked methodically.
- Findings should be documented with next-step recommendations.
Interior inspection first
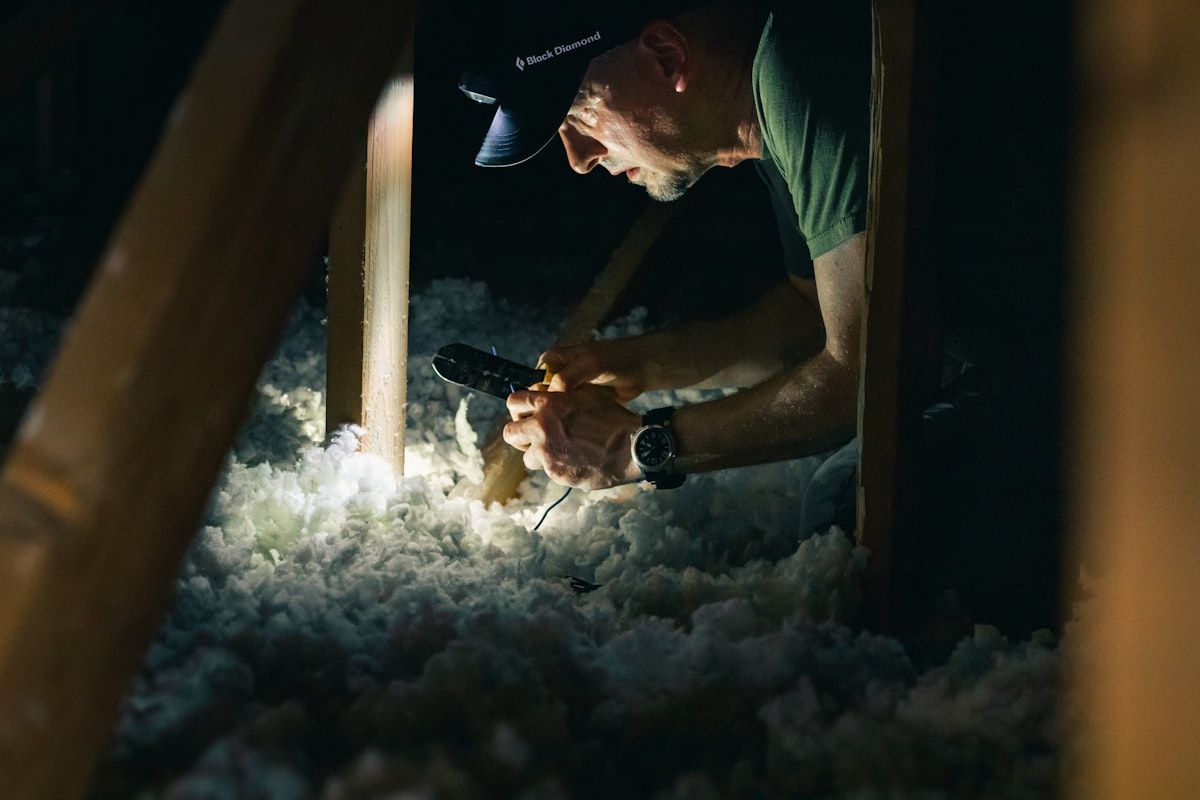
The visit should usually start inside the home. That means checking ceilings, wall areas, attic framing, insulation, and the moisture path around the leak symptom.
This step matters because the interior often tells the story of where water traveled, even when the entry point is not obvious.
Exterior roof assessment
Outside, the inspector should examine shingles or tiles, flashing, vents, valleys, skylights, roof edges, and drainage points. Gutters and downspouts matter too, because backed-up water can worsen leak conditions.
A quick glance from the ground is not enough.
Moisture detection and hidden-damage checks
When needed, tools such as moisture meters or infrared scans help confirm damp sheathing or hidden wet zones. That can reveal damage that has not yet broken through to the ceiling.
This is where a professional visit earns its keep, honestly. What looks dry on the surface may still be wet underneath.
Photos, findings, and next-step recommendations
You should leave with documentation, not just verbal reassurance. The outcome should point to one of a few clear paths: repair, replacement, monitoring, emergency tarping, or insurance documentation support.
That makes the next decision much easier.
Step 7: Use the inspection results to decide on repair vs. replacement
A leak does not automatically mean you need a new roof. But some leaks are a warning shot that patching the same tired roof again is just spending money slowly.
- Look at the scope of damage.
- Consider the roof’s age and condition.
- Choose the fix that solves the source, not just the symptom.
When a targeted repair usually makes sense
A repair usually makes sense when the issue is isolated, such as failed flashing, a limited storm-damaged section, or one problem area on a roof that still has useful life left.
That is the best-case scenario: fix the cause, protect the home, move on.
When replacement becomes the smarter move
Replacement starts making more sense when the roof has widespread wear, repeated leaks, aging materials, soft decking, or multiple failing areas. At some point, patchwork stops being thrift and starts being drag.
If you’re weighing that call, this guide to choosing between a fix and a full new roof helps sort the money question from the condition question.
Questions to ask before agreeing to either option
Ask how long the repair should last, whether matching materials are available, what warranty applies, and whether the recommended work addresses the source of water or only the visible symptom.
Those answers tell you a lot about the quality of the plan.
Step 8: Handle insurance the right way after the inspection
If storm damage may be involved, documentation and timing matter almost as much as the roof condition itself.
- Save every photo and report.
- Separate storm damage from age-related wear.
- Get clear support, not vague promises.
Save the inspection report, photos, and moisture notes
Keep the report, inspection photos, moisture readings, and any temporary protection invoices together. Organized records make claim conversations cleaner and faster.
This also helps if repair scheduling stretches out after a busy storm period.
Understand the difference between storm damage and wear and tear
Insurance often treats sudden storm damage differently from long-term aging or deferred maintenance. That distinction can shape whether coverage applies.
So do not assume every leak is claim-worthy, and do not assume none of it is.
Ask the contractor how they support claim documentation
Reasonable help includes inspection photos, scope details, marked damage areas, and written notes. That is useful. Promises of guaranteed claim approval are not.
If you need the bigger picture, this homeowner guide to sorting out the inspection side of a claim is worth reading before you file anything.
Step 9: Book the repair quickly and prevent the next leak
The inspection is the diagnosis, not the cure. Once you know what is wrong, the smart move is to keep the momentum going.
- Approve temporary protection if needed.
- Schedule permanent repairs quickly.
- Plan future inspections before the next leak gets a head start.
Approve temporary protection if needed
If repairs cannot happen immediately, temporary protection like tarping or emergency sealing may be the right stopgap. It is not pretty, but it buys time and limits additional water intrusion.
That is much better than waiting through another rain cycle unprotected.
Schedule permanent repairs before the next storm cycle
Delaying repairs after the inspection defeats the point. In Florida, the weather does not give long grace periods.
If the report says fix it soon, take that literally.
Plan routine follow-up inspections
Once this leak is resolved, routine inspections help catch the next weak spot early. Many roofing sources recommend checks every one to two years, and more often after severe weather or on older roofs.
Common problems and delays that can trip you up
A lot of roof leak stress comes from hesitation and mixed signals. Most of the common delays sound reasonable at first, but they usually cost time.
“The leak stopped, so maybe it’s fine”
A stopped drip only means water is not entering in that exact moment. It does not mean the roof dried out or repaired itself.
Moisture can linger behind ceilings, in decking, or around flashing long after visible dripping ends.
“No contractor can come out right away”
Ask about emergency service, temporary protection, or cancellation openings. Get on the schedule anyway. Even if the full inspection cannot happen that day, early booking puts you in line and may secure faster help.
“I can’t tell if it’s the roof or something else”
Leaks near chimneys, windows, HVAC units, or plumbing vents can be tricky. Water can also travel before it appears, which makes the source easy to misread.
That uncertainty is a reason to inspect promptly, not a reason to wait.
“I only see a stain, not active water”
A stain, odor, or bubbling paint still counts as a warning sign. It means water was there, and possibly still is.
Treat it like smoke from under a door. You do not need to see flames to know something deserves attention.
What outcome to expect after a prompt inspection
A good inspection should leave you with clarity, not confusion. Even bad news is easier to handle when you know exactly what you’re dealing with.
A clearer timeline for repairs
You should understand whether the issue needs emergency protection, a quick targeted repair, or a bigger replacement conversation. That timeline helps you plan instead of react.
Better repair or replacement decisions
Inspection findings keep you from guessing. Instead of jumping to the cheapest patch or the biggest quote, you can choose the option that actually fits the roof’s condition.
Stronger records for insurance or future resale
Photos, reports, and documented maintenance help with claims, future buyers, and your own peace of mind. A paper trail is not glamorous, but it pays off.
Frequently Asked Questions
How soon should you schedule a roof leak inspection after noticing a leak?
Schedule it the same day if possible. If the leak is active or started after a storm, aim for same-day or next-day service. If you only see a stain or smell something musty, book within 24 to 48 hours.
Can you wait if the leak only happens during heavy rain?
No. Intermittent leaks still mean water is getting in under certain conditions, often wind-driven rain or pooling around flashing or valleys. Waiting usually gives hidden moisture more time to spread.
How long does a roof leak inspection usually take?
For a typical single-family home, a leak-focused inspection often takes about 45 to 60 minutes, depending on roof size, pitch, attic access, and whether moisture testing is needed.
Will a roof leak inspection tell you if you need repair or full replacement?
That should be one of the main outcomes. A good inspection explains the source of the leak, the overall roof condition, and whether a targeted repair is realistic or replacement makes more financial sense.
Should you file an insurance claim before the inspection?
Usually, it makes more sense to get the inspection first so you have evidence, photos, and a clearer idea of whether the damage appears storm-related or more like wear and tear.
Try this first today
If you’ve noticed a leak, a ceiling stain, or that damp, musty smell that shows up after rain, make the call now instead of waiting for the next Southwest Florida storm to decide for you. Quick action is the whole trick: protect the inside, document what you see, and schedule the inspection before a small problem gets to grow up.