You already know Florida’s tropical climate can be unforgiving. The heat is relentless, storms can appear suddenly, and hurricane-force winds add to roof worries every year. If you’re tired of costly repairs and soaring utility bills, you might be thinking about upgrading your roof. One option worth exploring is energy efficiency metal roofs Florida homeowners rely on to withstand powerful storms while curbing their cooling expenses. As you weigh the benefits, you’ll find that metal roofing can be a game-changer for both your comfort and wallet.
Most people shy away from metal roofs at first because of the initial price tag. While panels cost more than your typical asphalt shingles, the long-term energy savings and lower maintenance needs often justify the investment. By reflecting much of the sun’s heat and providing robust insulation, metal roofing offers an effective way for you to combat Florida’s sweltering climate. Over time, these properties also help reduce cooling costs and keep your interior spaces more comfortable, even when it’s roasting outside.
Understand Florida’s roofing challenges
Florida’s environment poses several issues for homeowners. High humidity, intense heat, and nearly annual hurricanes mean you need a roof that can deliver more than just basic shelter. Frequent storms can rip away loosely secured shingles and send water pouring into your attic. Mold and mildew thrive in damp conditions, leading to rot if your roofing materials fail to breathe. These hazards raise maintenance costs and can even create health risks indoors.
You may have seen asphalt shingles torn off in storms, leaving owners scrambling for emergency fixes. The problem isn’t just the damage itself, but the repetitive nature of repairs. Storm after storm, you could find yourself dealing with patchwork solutions until it becomes too expensive to maintain. Upgrading to a more durable option, like metal, immediately tackles multiple Florida-specific problems. Not only do you protect against harsh weather, you also tap into significant energy efficiency benefits, particularly when you install reflective coatings.
When you consider a new roof, remember that these storms won’t let up. Strong, moisture-resistant materials can spare you a lot of headaches. In fact, the typical metal roof can last 30 to 40 years in Florida, more than twice as long as standard asphalt shingles. [1] Long lifespans and fewer repairs translate into reduced lifetime costs. And that’s only scratching the surface of what metal can do for you.
Energy bills in Florida are often eye-popping thanks to the constant need for air conditioning. Asphalt shingles tend to absorb and hold heat. That can drive attic temperatures up, forcing your AC to work double time just to keep the house comfortable. Metal roofs, by contrast, can deflect up to 70% of solar radiation. [2] With less heat transferring into your living space, you’ll likely run your air conditioner far less often.
Reflective and emissive properties of metal roofing are crucial in a climate like Florida’s. Specialized coatings on these panels bounce sunlight away, and the metal itself releases absorbed heat more quickly after sunset. That means your home cools down faster during the evening, easing the burden on your cooling system. In fact, depending on factors like roof color and quality of insulation, you might see a 25% drop in your cooling bills simply by installing a metal roof. [2]
For you, the math becomes simpler if you consider both the immediate and ongoing energy benefits. A metal roof in Central Florida can cut monthly cooling costs by as much as 50%. [1] Even at more conservative estimates, the typical savings add up year after year. This kind of efficiency is one reason many Florida homeowners see metal roofs as one of the smartest improvements they can make.
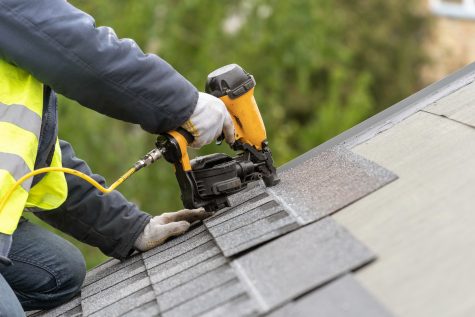
It’s helpful to break down the key differences when deciding between metal and asphalt shingles. Asphalt shingles remain widespread because they cost less upfront and are relatively easy to install. However, they tend to degrade faster in Florida’s punishing heat and humid conditions. Asphalt shingles also offer minimal reflectivity, meaning the sun’s rays are mostly absorbed into your home. That absorption keeps interior temperatures higher, raising your AC costs month after month.
Metal roofing, on the other hand, benefits from materials like steel, aluminum, or zinc coated to resist corrosion. While rust can be an issue if left unprotected, modern systems usually include layers of protective paints and sealants. These coatings prevent corrosion and keep your roof looking sharp. Florida’s climate can expedite wear and tear on typical shingles, but metal panels hold up remarkably well to wind, hail, and heavy rain. Many metal editions are rated for wind speeds in line with what Florida’s frequent hurricanes bring.
When you factor in energy performance, you’ll see an even bigger gap. Metal’s reflective properties far exceed those of asphalt shingles, which reflect only 5–15% of solar radiation. [3] By contrast, some high-performance metal roofs can reflect 30–60% or more. That difference is part of why an asphalt roof may only last 15 years here, while a well-maintained metal roof can remain effective for several decades.
Follow Florida building codes
Because Florida experiences extreme weather, state-specific codes guide roof design and installation. If you plan to switch to metal, you need to be aware of requirements like fastener spacing, underlayment standards, and wind-uplift testing. This helps your roof meet High-Velocity Hurricane Zone (HVHZ) regulations in counties like Miami-Dade. [4]
The Florida Building Code (FBC) also emphasizes energy efficiency, encouraging the use of reflective and emissive roofing materials that reduce cooling costs. [5] You might find that certain metal roofing products come pre-approved for their energy performance. These lines typically feature specialized coatings or finishes that reflect heat more effectively. By installing one of these approved products, you may qualify for incentives or tax credits, depending on the program and the year.
Ventilation is another key element to think about if you want your roof to stay efficient. Florida codes require proper ridge or soffit vents to combat trapped moisture and reduce the risk of mildew or mold. Additionally, adequate ventilation enhances your AC’s performance by enabling hot air to escape from the attic. If you coordinate with an experienced contractor who understands the code, you’re more likely to land on a system that not only passes inspection, but also returns big energy savings.
Embrace cost savings and ROI
While the cost of installing a metal roof might feel like a hurdle, forcing you to contemplate cheaper alternatives, it’s worthwhile to consider the long-term math. Imagine you eliminate frequent repair costs after storms because the roof is less likely to crack or tear. You also cut your energy usage as the reflective surface keeps your home cooler. Potential insurance discounts may apply if you install a code-compliant system that delivers extra storm resistance, not to mention the added peace of mind.
This kind of return on investment isn’t immediate, but it’s steady. Over a 10–15-year period, the reduced cooling costs, fewer repairs, and extended roof lifecycle can recoup a big portion of your upfront installation price. Plus, a new metal roof can boost your home’s property value and overall market appeal if you decide to sell later. Prospective buyers in Florida often prioritize durable, energy-efficient homes to limit their own future expenses.
Consider that months of scorching sunlight and recurrent storms translate to some of the highest utility usage in the country. A steady 20–25% cut in monthly cooling costs (or sometimes more) might offset the difference in cost between asphalt and metal fairly quickly. [2] Keep in mind that a quality roof you install once and rely on for decades is more financially sound than a cheaper one you replace in half the time.
Maintain your metal roof
Energy efficiency metal roofs Florida contractors install do not require the same level of upkeep as traditional shingles. However, you still want to conduct routine maintenance. Leaves, branches, and debris can accumulate over time, especially after strong winds. Clearing these away keeps the panels free from scratches and removes anything that might trap moisture. Inspect your roof’s fasteners and sealants now and then to confirm they remain secure and watertight.
One of the biggest threats to your roof’s energy efficiency is dirt or algae growth. Metal roofs are naturally resistant to moss, algae, and mold, but it’s wise to check for any signs of buildup. [1] Cleaning your panels with a gentle solution, or hiring professionals if you have heavy buildup, can preserve their reflective finish. Spots of corrosion might appear if panels get damaged, so address them quickly to prevent rust from spreading underneath the coatings.
As a Florida homeowner, you’ll find that a minimal maintenance routine helps maximize efficiency. Because of the humid climate, make sure water has a clear path off your roof. If you spot anything blocking gutters or downspouts, remove it so that mold or mildew has fewer opportunities to thrive. To learn more about caring for your roofing system, you can check out metal roof maintenance southwest Florida for practical tips and advice.
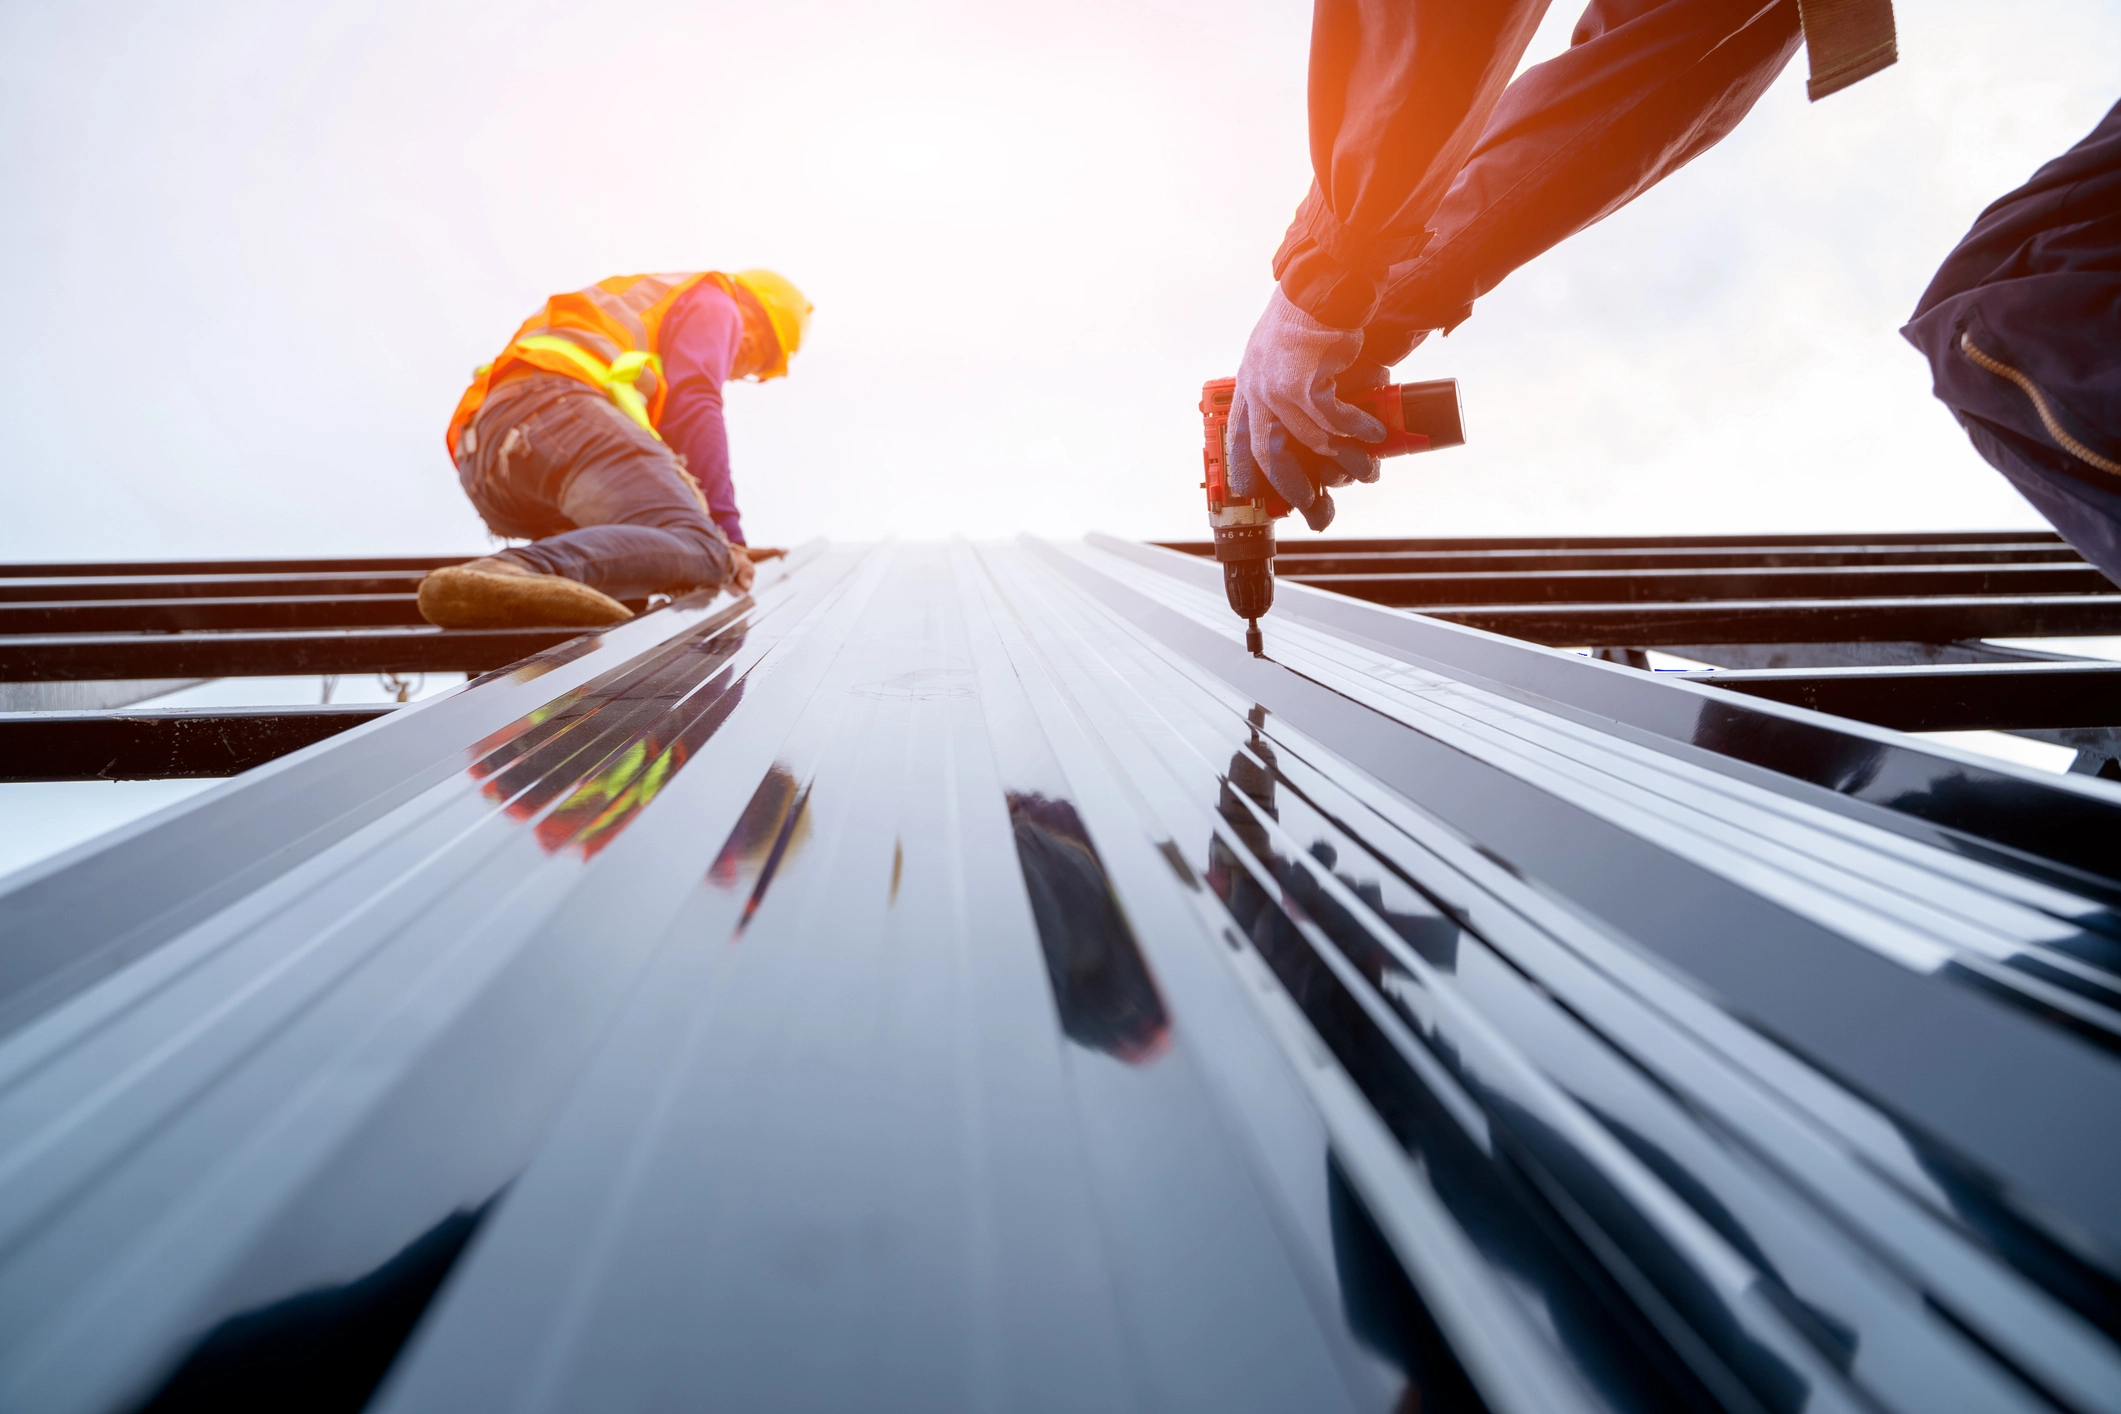
Explore installation best practices
Installation plays a major role in getting the most out of your metal roof. Panels or shingles must overlap correctly to prevent leaks, and fasteners must be set to specified spacing. Underlayment materials designed for Florida’s humidity can further enhance your roof’s protective layer. The combination of skilled workmanship and high-quality components helps your roof stay resilient against heavy winds and extreme heat.
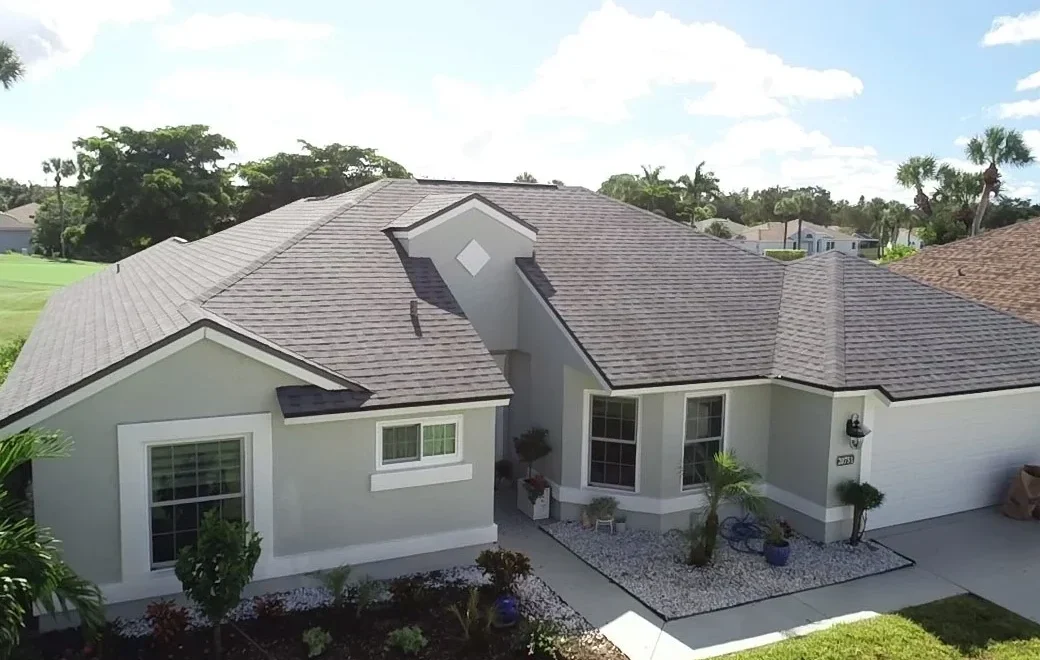
If you’re updating your property in Southwest Florida, you might find it useful to visit metal roof installation southwest florida for more details. A knowledgeable installer should address key decisions like selecting the right gauge of metal and choosing a finish that balances appearance with maximum reflectivity. For many homeowners, lighter colors such as white, light gray, or tan provide the best energy benefits. These shades intensify the roof’s ability to reflect the sun.
In fact, the finishing coat is anything but a minor detail. A specialized reflective coating can make a measurable difference by bouncing away a bigger fraction of sunlight. It also guards the core metal from UV damage, ensuring that your roof doesn’t degrade prematurely. At this point, it makes sense to partner with a roofer who understands local codes and environmental demands. By using the right materials and expert installation, you create a system that endures Florida’s tough conditions and lowers your cooling load.
Factor in environmental friendliness
You might be glad to know that metal roofing scores well on sustainability. Many panels come from recycled materials and can be recycled again when replaced. Given how often Florida sees roof replacements, choosing metal can help reduce waste. Meanwhile, the reduction in energy usage means you consume less power from the grid, helping lower your overall environmental footprint.
High reflectivity also benefits local communities by mitigating the heat island effect, particularly in congested urban areas. The heat island effect occurs when blacktop roads, roofs, and parking lots absorb heat, elevating local temperatures. A reflective metal covering reduces your home’s contribution to that heat buildup. Over time, if more homes in a neighborhood adopt energy-efficient roofing, the area might enjoy cooler summer temps.
Additionally, because of its long lifespan, metal roofing cuts down on the repeated raw material demands associated with shorter-lived roofing systems. The longevity factor has a halo benefit for the planet, too. Fewer production runs to create new materials mean lower emissions and less resource consumption. For you, it’s a chance to align your roofing decision with your eco-friendly values, all while enjoying cost reductions.
Know your options for roof replacement
A roof forms one of your home’s biggest barriers against the outdoors, so you want to keep it in top shape. If you’re looking to upgrade, you can learn more about taking that step by visiting San Carlos Roofing. Their resources help you plan the process, from choosing the right contractor to comparing financing options.
Whether you decide on metal or another material, a roof replacement in Florida calls for caution because of stringent building codes. It’s smart to factor in the potential for future storms. By using strong materials that excel at insulation and reflection, your roof becomes an energy saving asset. Being proactive is far better than waiting for the next big storm to tear through missing shingles or a worn-out underlayment.
If the decision comes down to cost, weigh the figure carefully. You might face a higher invoice up front, but the payoff includes minimized storm damage, fewer replacements, and that sweet relief of lower utility bills. By taking the time to do your research, you equip yourself to make a decision that benefits both your pocket and your property.
Florida’s metal roofing options extend well beyond corrugated panels. You’ll also find products like standing seam roofs, stone-coated steel, and metal tile. Each style offers a unique aesthetic for your home while providing valuable protection against storms and heat. For instance, stone-coated steel can resemble traditional shingles or clay tiles, which allows you to maintain a more classic look while capitalizing on metal’s durability.
Standing seam roofs feature clean vertical lines and hidden fasteners, giving your home a streamlined appearance that works quite well in modern or coastal settings. Meanwhile, Galvalume alloys power up the metal’s corrosion resistance, a must for Florida’s harsh climate. If you want a more detailed explanation of how these materials stack up to the local environment, consider checking out metal roof durability florida climate. It’s important to pick a style that complements your home’s architecture without compromising on strength and reflectivity.
Another plus is that many of these metal styles support solar panel installation. That means you can combine green roofing with a renewable energy source. By installing a panel array on top of your reflective metal roof, you optimize your home’s energy efficiency even further. A roof that conserves electricity while generating its own power can deliver exceptional savings and a smaller carbon footprint overall.
Protect your home from hurricanes
When hurricane winds slam into Florida’s coast, your roof becomes a frontline defense. Traditional roofing materials can fail under extreme pressure, giving way to leaks and structural harm. Metal roofs built for Florida’s environment often come with testing certifications for wind resistance. They use strong fasteners to keep panels firmly in place, even in gusts surpassing 140 mph. [4]
Apart from wind, hail can be an issue, though metal roofs stand up well to impact. Most metals can handle hailstones that often crack or shatter typical shingles. Plus, you avoid the dreaded problem of missing shingle tabs after a nasty storm. This resilience not only protects your wallet from repair bills, it guards the rest of your home from water damage that can infiltrate once the outer barrier is compromised.
As you weigh your options during storm season, keep in mind that some insurance providers look more favorably on metal roofing. You might see better rates or coverage terms, especially if the system meets or exceeds state codes for high-wind areas. Whether or not you qualify for a discount, you’ll still have the peace of mind knowing that your roof can better weather the onslaught of a Category 3 or 4 hurricane, a frequent threat for Florida homeowners.
Improve your comfort all year
A metal roof supports comfort inside your home throughout Florida’s seasons, which, in truth, revolve more around “hot” and “rainy” than they do winter or spring. By reflecting sunlight, a metal roof helps reduce humidity buildup too, since moisture and heat thrive together. That means you’re less likely to experience the sticky indoor climates that force you to run the AC nonstop.
At night, radiant heat from asphalt shingles can continue seeping into your living spaces long after the sun goes down. Not so with metal, which cools quickly and allows for a more balanced indoor temperature once the sun sets. As a result, you may find your AC cycles less frequently. This greater consistency in temperature further boosts your comfort and benefits anyone in your household who’s sensitive to heat, such as children or older adults.
You can also adjust your insulation thickness to amplify these benefits. Florida’s building codes increasingly encourage robust insulation under metal roofing because it enhances energy savings. [5] A well-insulated attic combined with a reflective metal roof might drastically reduce the need to blast the AC, saving you even more money.
Find the right contractor
Whenever you decide to install or upgrade to metal roofing, be sure to work with a trusted contractor. Florida’s roofing industry is competitive, and not every company has the same level of skill. Ask your prospective contractors about their familiarity with Florida’s building codes and local permitting processes. You’ll also want to confirm they’ve dealt with metal roofing specifically, as it’s a different skillset than working with shingles.
Request references or examples of completed projects in Southwest Florida and ask about the warranties they include. Some metal roofing systems come with warranties that last 20 to 50 years or more. Properly installed, these systems can grant decades of service. A quality contractor likely invests in good underlayment, correct fasteners, and high-grade sealants. Cutting corners on cheaper materials can undermine even the best metal roof’s potential to save energy.
While making your short list of pros, take note of their approach to ventilation, color selection, and any recommended coatings. A thorough contractor knows that a metal roof’s efficiency hinges on each of these details. Pulling them together forms the foundation for a roof that works with, not against, Florida’s climate. It’s also wise to schedule regular inspections once installed, even though metal requires less maintenance than asphalt. That way, you stay on top of any minor issues before they escalate.
Enjoy solid benefits and fewer worries
Beyond the energy savings, metal roofing in Florida offers peace of mind. You won’t agonize about the first sign of a tropical storm or worry that your roof will fail at the worst time. You’ll be able to rest easier knowing that this investment helps protect your home from water intrusion, mold growth, and the frustrations of repeated shingle replacements. Over its lifespan, a metal roof is simply less hassle.
You might also find it liberating to reduce dependence on constant AC. By choosing a reflective surface and ensuring correct installation, you cut your monthly electricity bills in a place where cooling expenses can feel like a second mortgage. Meanwhile, you lower your environmental impact without sacrificing comfort. If you want more ways to maximize those benefits, check out metal roofing benefits Florida homes. You may discover practical tips to pair with your new roof for the best results.
As you weigh your final decision, remember that you’re not only upgrading a fundamental part of your house, you’re also making a statement about self-reliance and resilience. Florida’s climate demands materials that can handle an onslaught of moisture, high temperatures, and gale-force winds. Metal roofing thrives in these situations, especially when installed by seasoned professionals.
Tie it all together
If you’re living under an aging roof right now, it might be time to consider a replacement that carries long-term advantages. You can learn about the process from San Carlos Roofing if you’re not sure where to start. You’ll soon realize that metal’s reputation for durability aligns almost perfectly with the demands of Southwest Florida. And while the upfront cost is higher, the energy savings have the potential to be substantial over the coming years.
One of the biggest insights to keep in mind is that a roof is more than just a cap on your house. It’s an integral part of your home’s defense against the elements and a partner in boosting your indoor comfort. By reflecting the sun, reducing strain on your AC, and withstanding destructive storms, metal roofing emerges as a top contender for Florida’s environment. Right now, you have a choice: continue patching a vulnerable roof or opt for a system that’s built to handle the Sunshine State’s extremes.
Think about the favorite spots in your home, maybe the living room you keep cool for family gatherings, or the workshop in your garage that needs better ventilation. A metal roof can enhance all those spaces by preventing them from overheating. It’s an investment in your lifestyle as much as your property. So, if you’re ready for a roofing solution that stands firm against the elements and can cut monthly bills, energy efficiency metal roofs Florida experts install might be exactly what you need.
Final thoughts
Deciding on a metal roof comes down to recognizing how valuable a sturdy, reflective, and durable solution can be in a state known for powerful storms. You’ll likely pay more initially, but the drops in cooling costs, minimal upkeep, and resolving that constant worry about hurricane damage add genuine value. Over the decades, your finances and your nerves might thank you for making this choice now.
The next step is to gather quotes from a reputable roofing contractor who know how to navigate Florida’s strict building codes. Ask about warranties, reflectivity ratings, and color options that best fit your region. Inquire about potential insurance discounts or energy incentives for installing a highly reflective roof. You may even consider combining a metal roof with solar panels if you want to push efficiency further. Most importantly, invest in a roof you can trust, one that brings relief during scorching summers and stands strong when storms come knocking.
Upgrading to a metal roof in Southwest Florida is a long-term strategy for cutting energy bills and reducing frequent maintenance headaches. Pair the right materials with knowledgeable installation, and you’ll forge a roof that pays dividends year after year. If you want even more details on upkeep, check out metal roof maintenance southwest Florida. Ultimately, choosing to invest in metal is a smart way to save money while ensuring your home remains safe, cool, and comfortable for a long time to come.
References
- (Big D Roofing)
- (American Family Roofing LLC)
- (Mid Florida Metal Roofing Supply)
- (GN Exteriors)
- (ClassicRoofReplacement.com)